Product photography plays a crucial role in showcasing your items in the best possible light, whether you’re selling online, promoting your brand, or building your portfolio. One of the most dramatic and professional ways to highlight a product is by using a black background. In this guide, we’ll explore the steps to achieve that sleek, elegant look.
Table of Contents
ToggleWhy Choose a Black Background?
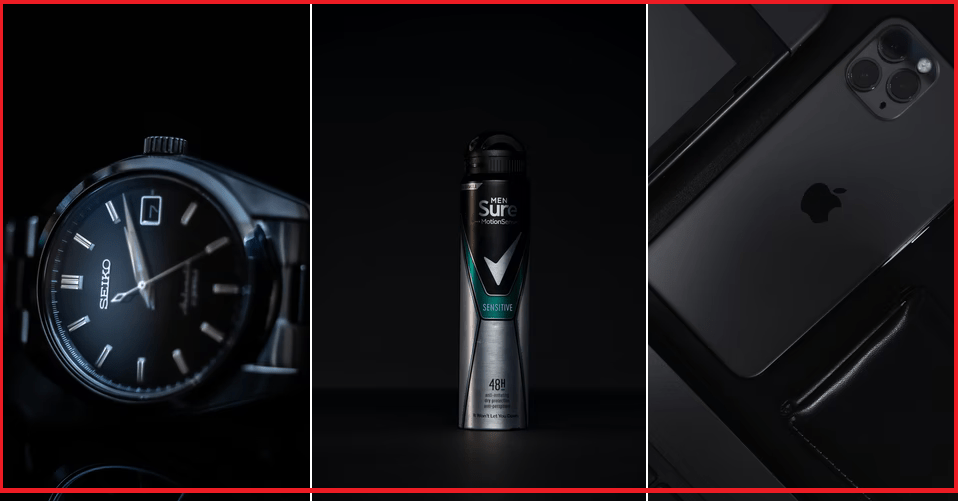
A black background makes your product stand out, creating a sharp contrast that draws the viewer’s attention to the item. It adds an element of sophistication and mystery, making your product look more high-end. Plus, it helps eliminate distractions, focusing solely on your subject.
Steps to Create a Black Background for Product Photography
1. Choose the Right Background Material
To create that deep, rich black background, start by selecting the right material. Here are a few options:
- Black paper or foam board: These are affordable and easy to find in craft stores.
- Black fabric: A piece of black velvet or felt absorbs light effectively and gives a true black.
- Black vinyl backdrops: These are durable and provide a clean, polished look.
2. Control Your Lighting
Lighting is the most important element in getting a perfect black background. Here’s how:
- Use direct, focused lighting on the product: Softboxes, strobes, or LED panels work great. The key is to ensure light is only falling on the product and not the background.
- Block light from hitting the backdrop: You can use flags, cardboard, or even your hands to prevent light from spilling onto the background. This keeps it pure black.
- Position lights carefully: A common setup is using one main light source at a 45-degree angle to your product, and a reflector or fill light on the opposite side to reduce shadows.
3. Adjust Your Camera Settings
You don’t need fancy equipment to get professional results. However, controlling your camera settings is essential:
- Low ISO: Use an ISO of 100 or 200 to avoid graininess.
- Small aperture: Set your aperture to f/8 or higher for sharpness and good depth of field.
- Shutter speed: Adjust the shutter speed to control exposure without letting too much light hit the background. A faster shutter speed helps maintain the darkness behind the product.
4. Position the Product Correctly
To avoid unwanted reflections or lighting issues, keep the product at least 3-5 feet away from the background. This ensures that the light falls on the product without brightening the background.
5. Post-Processing Touches
After shooting, you can perfect the black background in post-processing:
- Enhance blacks: Use editing software like Photoshop or Lightroom to deepen the blacks.
- Remove imperfections: Sometimes, stray light or dust can show up. Use the brush tool to clean any distractions in the background.
- Adjust contrast: Increasing contrast can further help the product pop against the black background.
Final Tips for Perfect Black Background Product Photography
- Reflections: For shiny or reflective products, consider using a polarizing filter to reduce glare.
- Experiment with angles: Different angles can reveal the best features of your product. Don’t be afraid to move your camera around to find the perfect shot.
- Use a tripod: A tripod will help you avoid any camera shake and keep your shots consistent.
Creating a black background for product photography may seem challenging at first, but with the right setup and lighting, you can capture stunning, professional-looking images. Whether you’re photographing jewelry, electronics, or clothing, a black background can elevate your product photography to the next level. Try it for yourself, and watch your products stand out with that touch of elegance!