Photography is all about mastering light, and one of the simplest yet most effective tools to manipulate light is a reflector. Whether you’re a beginner or a pro, reflectors can dramatically improve the quality of your images. This guide will teach you everything you need to know about using a reflector in photography, from understanding its types to mastering various techniques for the perfect shot.
Table of Contents
- What is a Reflector in Photography?
- Types of Reflectors
- Why Use a Reflector in Photography?
- How to Use a Reflector: Step-by-Step Guide
- Best Tips for Using Reflectors
- Frequently Asked Questions (FAQs)
- Conclusion
Table of Contents
Toggle1. What is a Reflector in Photography?
A reflector is a flat, reflective surface used to redirect light onto a subject. It helps fill in shadows, reduce harsh light, and add an extra layer of brightness to the photo. Reflectors can be handheld or placed on stands, and they are often used in natural light photography but are also useful in studio setups.
2. Types of Reflectors
Reflectors come in different colors and materials, each offering distinct advantages:
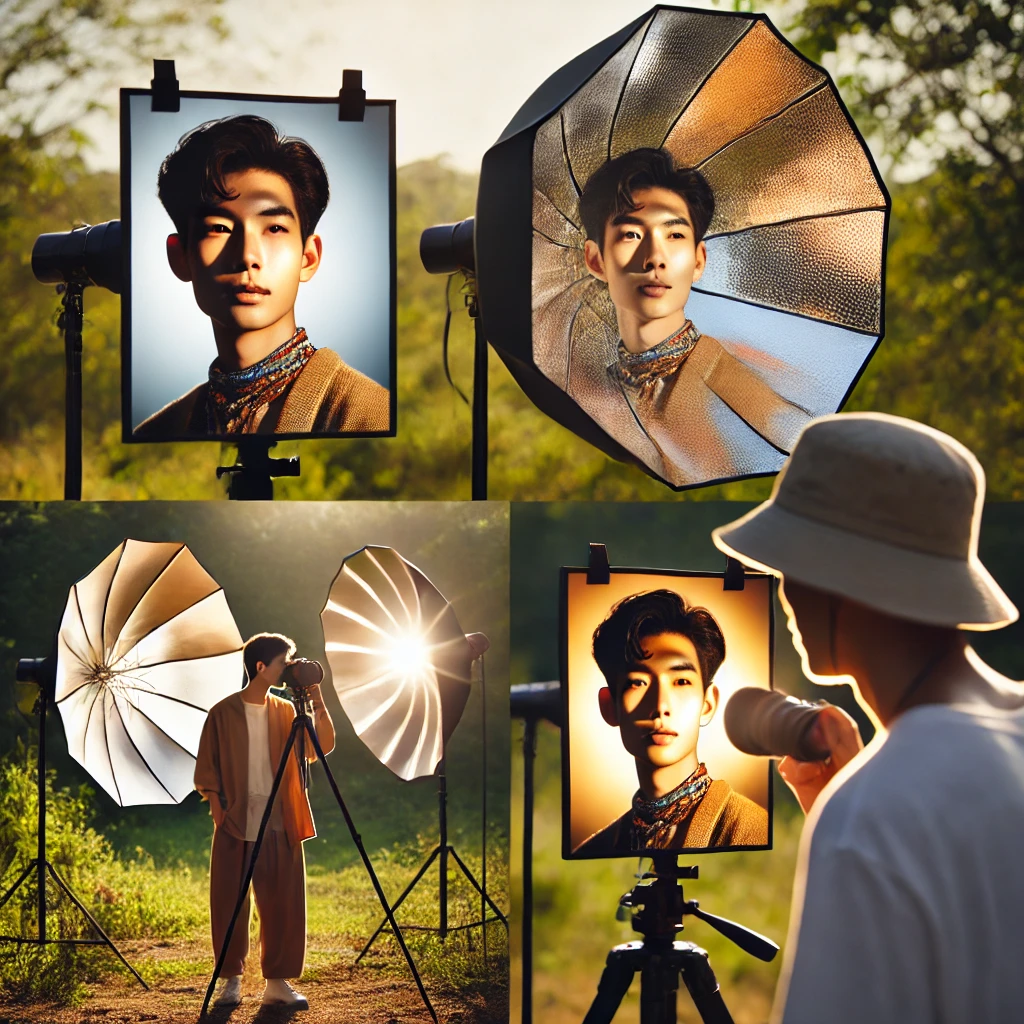
- Silver Reflector: Produces a strong, bright light that’s perfect for enhancing contrast and highlighting details. Great for overcast days or low-light situations.
- White Reflector: Softens light and provides a natural look. It’s perfect for filling in shadows without creating a harsh light source.
- Gold Reflector: Adds a warm, golden tone to the subject, making it ideal for shooting during the golden hour or to give a sun-kissed glow in portraits.
- Black Reflector: Instead of reflecting light, a black reflector blocks light, creating stronger shadows and adding depth to the image.
- Translucent Reflector (Diffuser): Softens harsh light when placed between the light source and the subject. Often used in direct sunlight to create a more even lighting effect.
3. Why Use a Reflector in Photography?
Reflectors are a must-have tool because they offer:
- Control over Light: Reflectors allow you to direct and shape light exactly where you need it.
- Cost-Effective: Reflectors are affordable, making them an essential tool for photographers at all levels.
- Portability: Lightweight and easy to carry, they’re perfect for both indoor and outdoor shoots.
- Versatility: Reflectors can be used in natural or artificial light situations and in various environments.
4. How to Use a Reflector: Step-by-Step Guide
Here’s a basic step-by-step guide on how to use a reflector in different situations:
Step 1: Choose the Right Reflector
Based on the lighting conditions and the mood you want to create, choose a reflector that suits your needs (gold, silver, white, or black).
Step 2: Position the Reflector
Hold or position the reflector at an angle where it bounces light onto your subject. You can place it below, above, or beside the subject depending on the shadows you want to fill in or reduce.
Step 3: Move the Reflector Closer or Further Away
The distance between the reflector and the subject will affect the intensity of the reflected light. Moving the reflector closer will produce stronger light, while positioning it further away will result in softer light.
Step 4: Watch the Light
Always keep an eye on how the light falls on your subject. Make small adjustments to the angle of the reflector to get the desired look.
Step 5: Capture the Shot
Once you’re satisfied with the light, take your shot. You’ll notice how the reflector improves the exposure and quality of the photo by filling in shadows or adding highlights.
5. Best Tips for Using Reflectors
- Use Natural Light: When working with reflectors outdoors, position them to take advantage of natural sunlight. Reflectors work best when bouncing sunlight onto your subject.
- Avoid Overexposure: Be cautious with silver reflectors, as they can create too much light and cause overexposure. Test your settings before capturing the final shot.
- Use Stands or Assistants: For large reflectors, it’s helpful to have a stand or an assistant to hold the reflector for you, giving you more freedom to compose your shot.
- Experiment with Angles: Don’t be afraid to move around your subject and try different angles to see how the light interacts with the reflector.
- Balance with Diffusers: If the light is too harsh, use a diffuser reflector to soften it before it hits the subject, creating a well-balanced light.
6. Frequently Asked Questions (FAQs)
Q: Can I use a reflector in low-light situations?
A: Yes, reflectors can be used to amplify available light in low-light conditions, but they’re more effective in environments with some light to bounce.
Q: Do I need an expensive reflector?
A: No! You can even DIY your reflector using white cardboard, aluminum foil, or other reflective surfaces. However, professional reflectors are often more durable and give you more control.
Q: What size reflector should I get?
A: It depends on your subject. For portraits, a small to medium-sized reflector (20-42 inches) is sufficient, but for group shots or larger scenes, opt for a larger one.
Reflectors are a simple yet powerful tool in photography, helping you control light and improve your images without breaking the bank. Whether you’re a portrait photographer or a landscape artist, understanding how to use a reflector will elevate your photography skills. So, next time you’re on a shoot, grab your reflector and see the difference it makes!